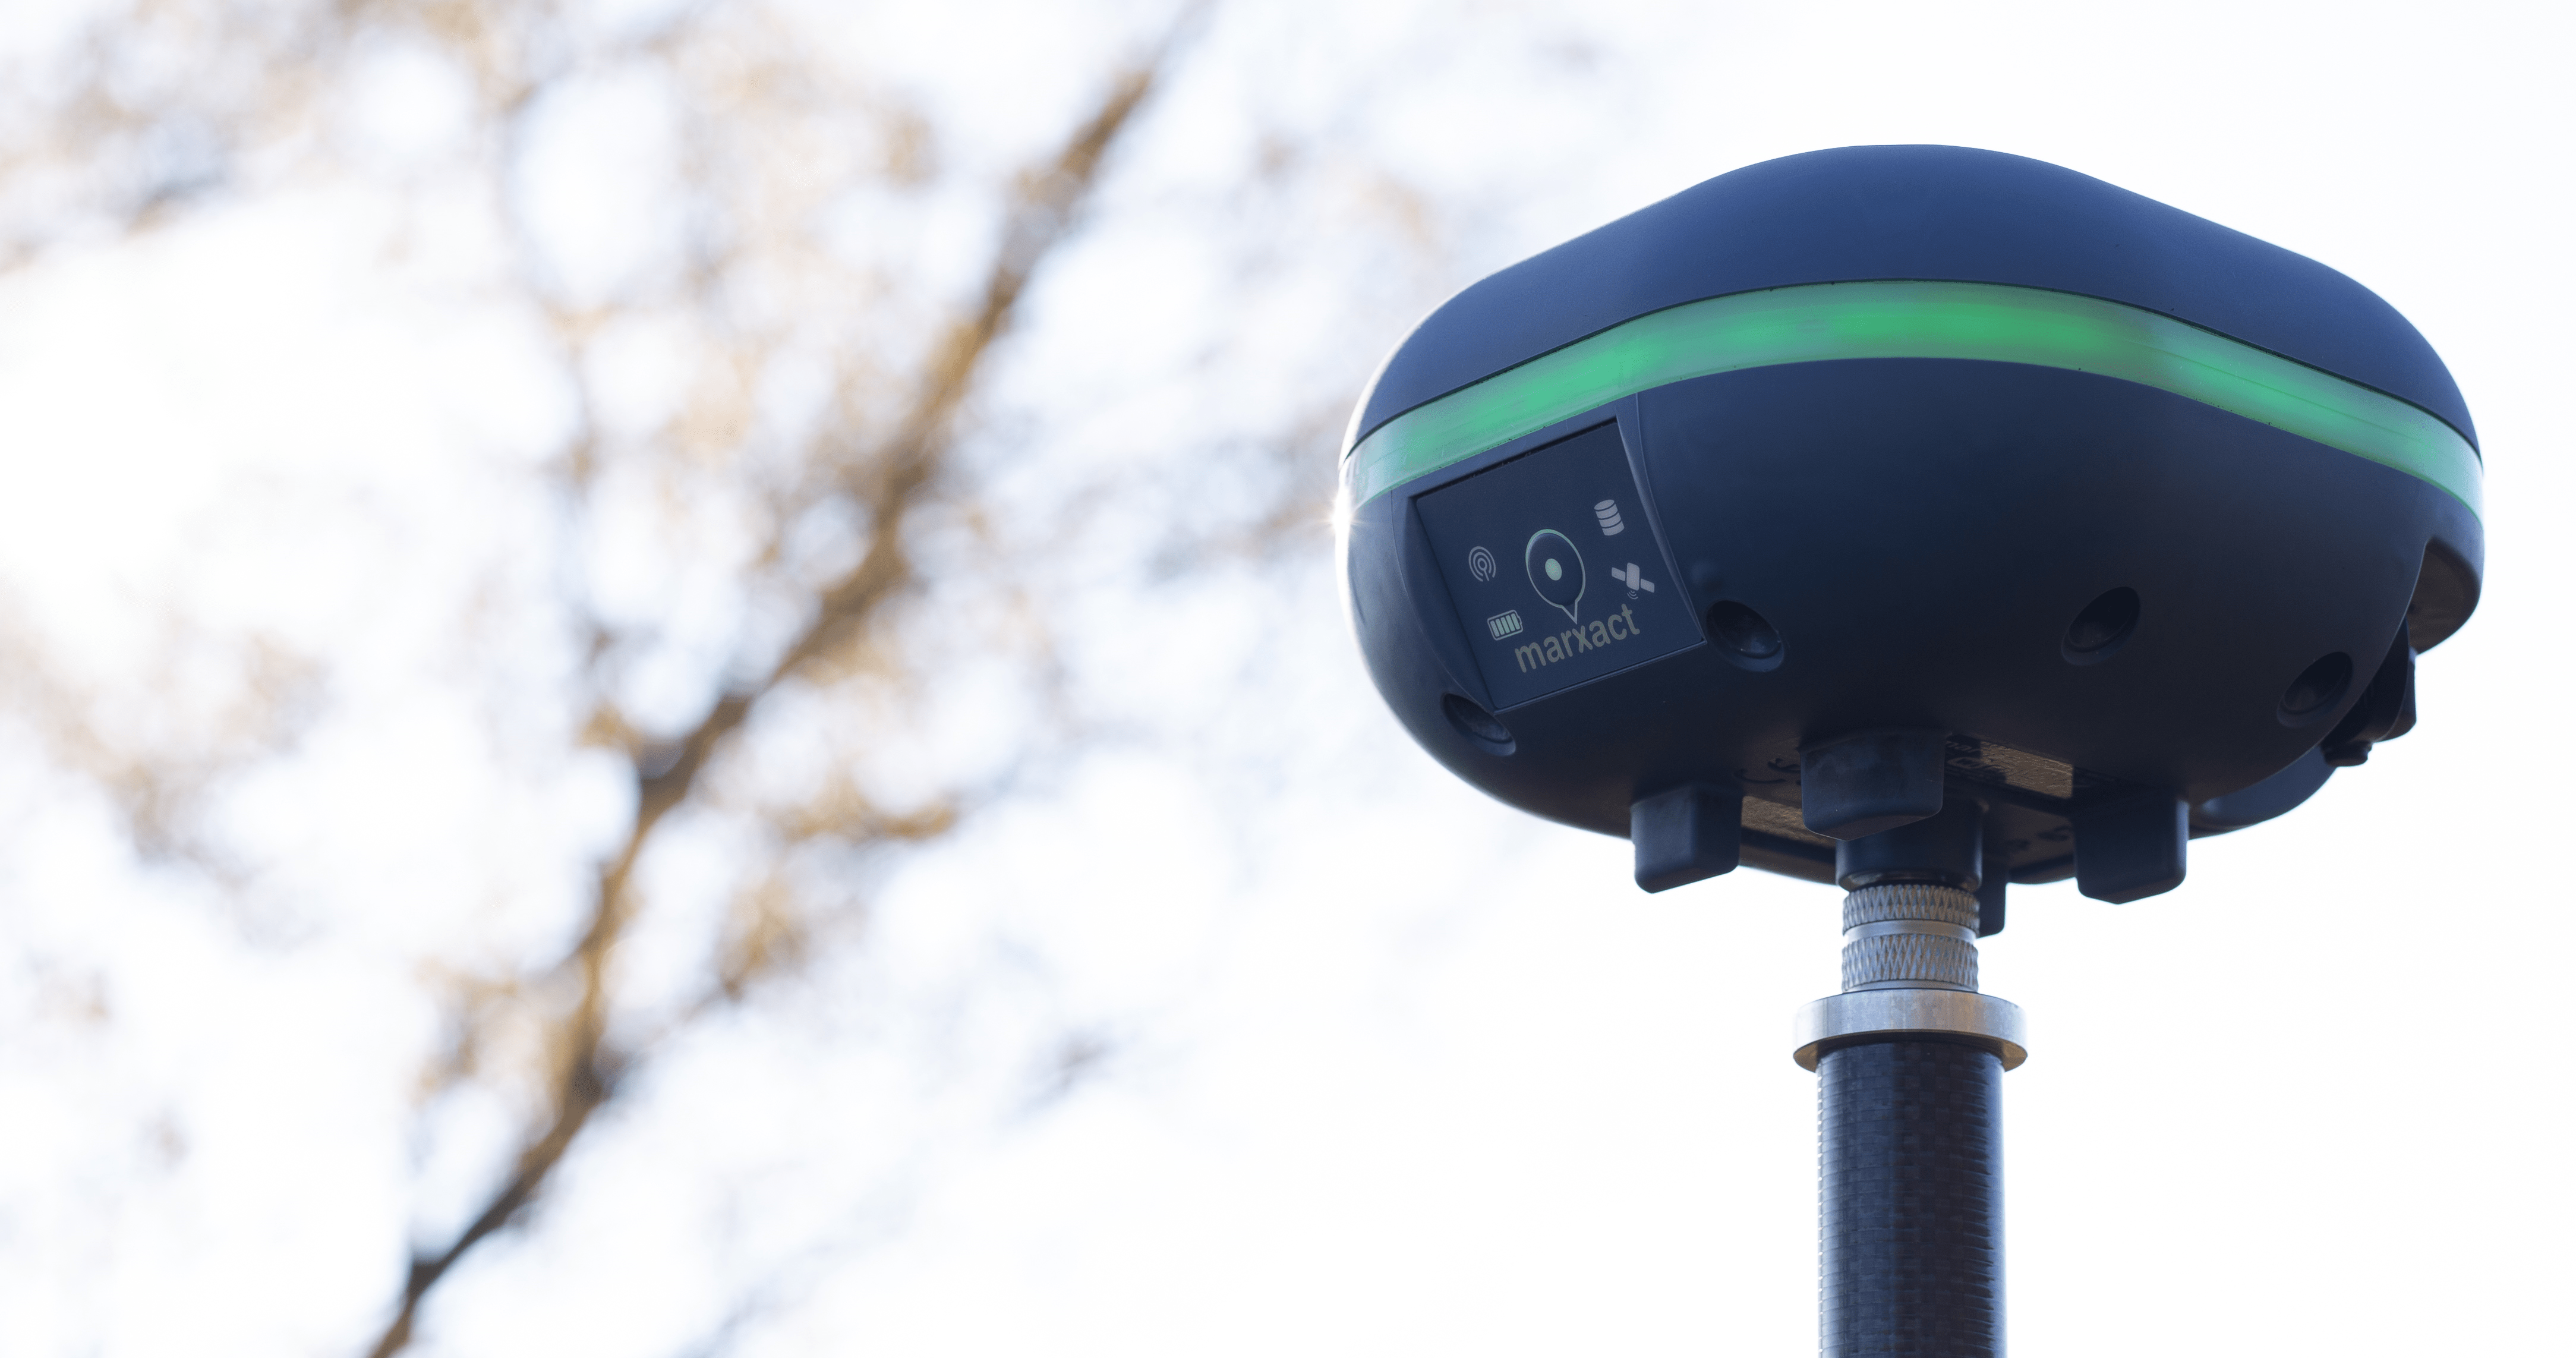
External GNSS connections allows to utilise accurate location provided by high-quality GNSS receivers. In theory Mapit Spatial can be connected to any Bluetooth or TCP enabled device streaming the data using NMEA standard. If the device is capable of streaming RTK corrected coordinates you get get centimetre accuracy.
GNSS metadata statistics are visible in GPS Info screen and recorded by Mapit Spatial for Point features. They can be added to the exported files as separate fields when exporting to geojson or shapefile. This option must be enabled in “Survey Settings”.
On top of the standard (direct) connections via Bluetooth or TCP some GNSS receivers offer dedicated connections via apps like Trimble Mobile Manager, EOS Tools Pro or Leica Zeno Connect. These can be the source of the GNSS location for your Android device and feed the location manager via a so called “Mock location”.
Mapit Spatial can also utilise Mock locations provided by any other apps like “Bluetooth GPS”, however some GNSS metadata may not always be available in that mode.
Note: If you would like to get mean sea level height in Mapit Spatial – please enable Geoid Height (Survey Settings) and select the relevant Geoid Grid from the list.
To connect external GNSS device to Mapit Spatial – please go to Settings → External GNSS and switch on relevant option:

I. Direct External GNSS Connection via Bluetooth or TCP socket – this method of connection should be used if you want to connect Mapit directly to the source streaming NMEA sentences via the Bluetooth or TCP interface. If you want to get RTK corrected location via this method of connection you have to have a device which is able to stream NMEA with the solution applied.
The app was tested with number of receivers like Garmin GLO or professional marXact UNI-GR1.
To connect external GNSS device to Mapit Spatial please follow the following steps:
- Make sure the device is paired in Bluetooth settings.
- In Mapit Settings go to External GPS and switch ON Direct Connection to External GNSS or Direct Connection over TCP switch.
- When getting back to map the location source will be automatically switched to External GNSS (users may need to restart application on some devices).
I.Trimble Mobile Manager – please use this method for the connection with Trimble antennas like the Trimble Catalyst. The Trimble Mobile Manager app must be installed and configured on your device before using Mapit GIS. Please follow the steps below to get the accurate location inside Mapit:
- Make sure the Trimble Mobile Manager is selected as Mock Location app in the Android developer settings.
- Connect your Trimble Catalyst Antenna via Trimble Mobile Manager app and enable Mock Location inside the app (Application Settings-> Share Location) – make sure you are getting the RTK corrections correctly.
- When you get accurate location in TMM – switch to Mapit Spatial and go to External GNSS Settings → Switch ON Trimble TMM switch.
- You can enable GNSS metadata for export in Survey settings as well if you need.
II. Eos Tools Pro Connection – Enable this function if you would like to make Mapit compatible with with Eos Arrow receivers. Eos Tools Pro must be installed and configured on your device before using Mapit GIS. These Tools feature an NTRIP client to receive corrections from an RTK network/Internet base station and feed these corrections to your Arrow receiver via Bluetooth. They will also take care of populating the Android Location Service with the Arrow’s more accurate position (replacing the device’s internal position with the Arrow’s position) – this position is then used by the Mapit app.
- Make sure the EOS Tools is selected as Mock Location app in the Android developer settings.
- Connect your GNSS receiver via EOS Tools and enable Mock Location inside the EOS Tools Pro – make sure you are getting the RTK corrections correctly.
- When you get accurate location in EOS Tools Pro – switch to Mapit and in the External GNSS Settings → EOS Connect on.
- You can enable GNSS metadata for export in Survey settings as well if you need.
- In this mode you will not get the satellite’s signal and satellite’s position views – as they are not available via mock location.
III.Leica Zeno Connect – please use this method for the connection with Leica smart antennas. The Zeno Connect app must be installed and configured on your device before using Mapit GIS. MapIt has been tested using Leica Smart Antenna GG03/04. Please follow the steps below to get the accurate location inside Mapit:
- Make sure the Zeno Connect is selected as Mock Location app in the Android developer settings.
- Connect your Leica Smart Antenna via Zeno Connect and enable Mock Location inside the app – make sure you are getting the RTK corrections correctly.
- When you get accurate location in Zeno Connect – switch on Mapit and go to External GNSS Settings → Switch On Leica Zeno Connect switch.
- You can enable GNSS metadata for export in Survey settings as well if you need.
- In this mode you will not get the satellite’s signal and satellite’s position views – as they are not available via mock location.
IV. You can also use any other app providing Mock Locations like “Bluetooth GPS” to get the location inside Mapit → Leave External GNSS settings switched off in that case. GNSS metadata statistics like DOPs values, RMS values etc. may however will not be available in that mode.

